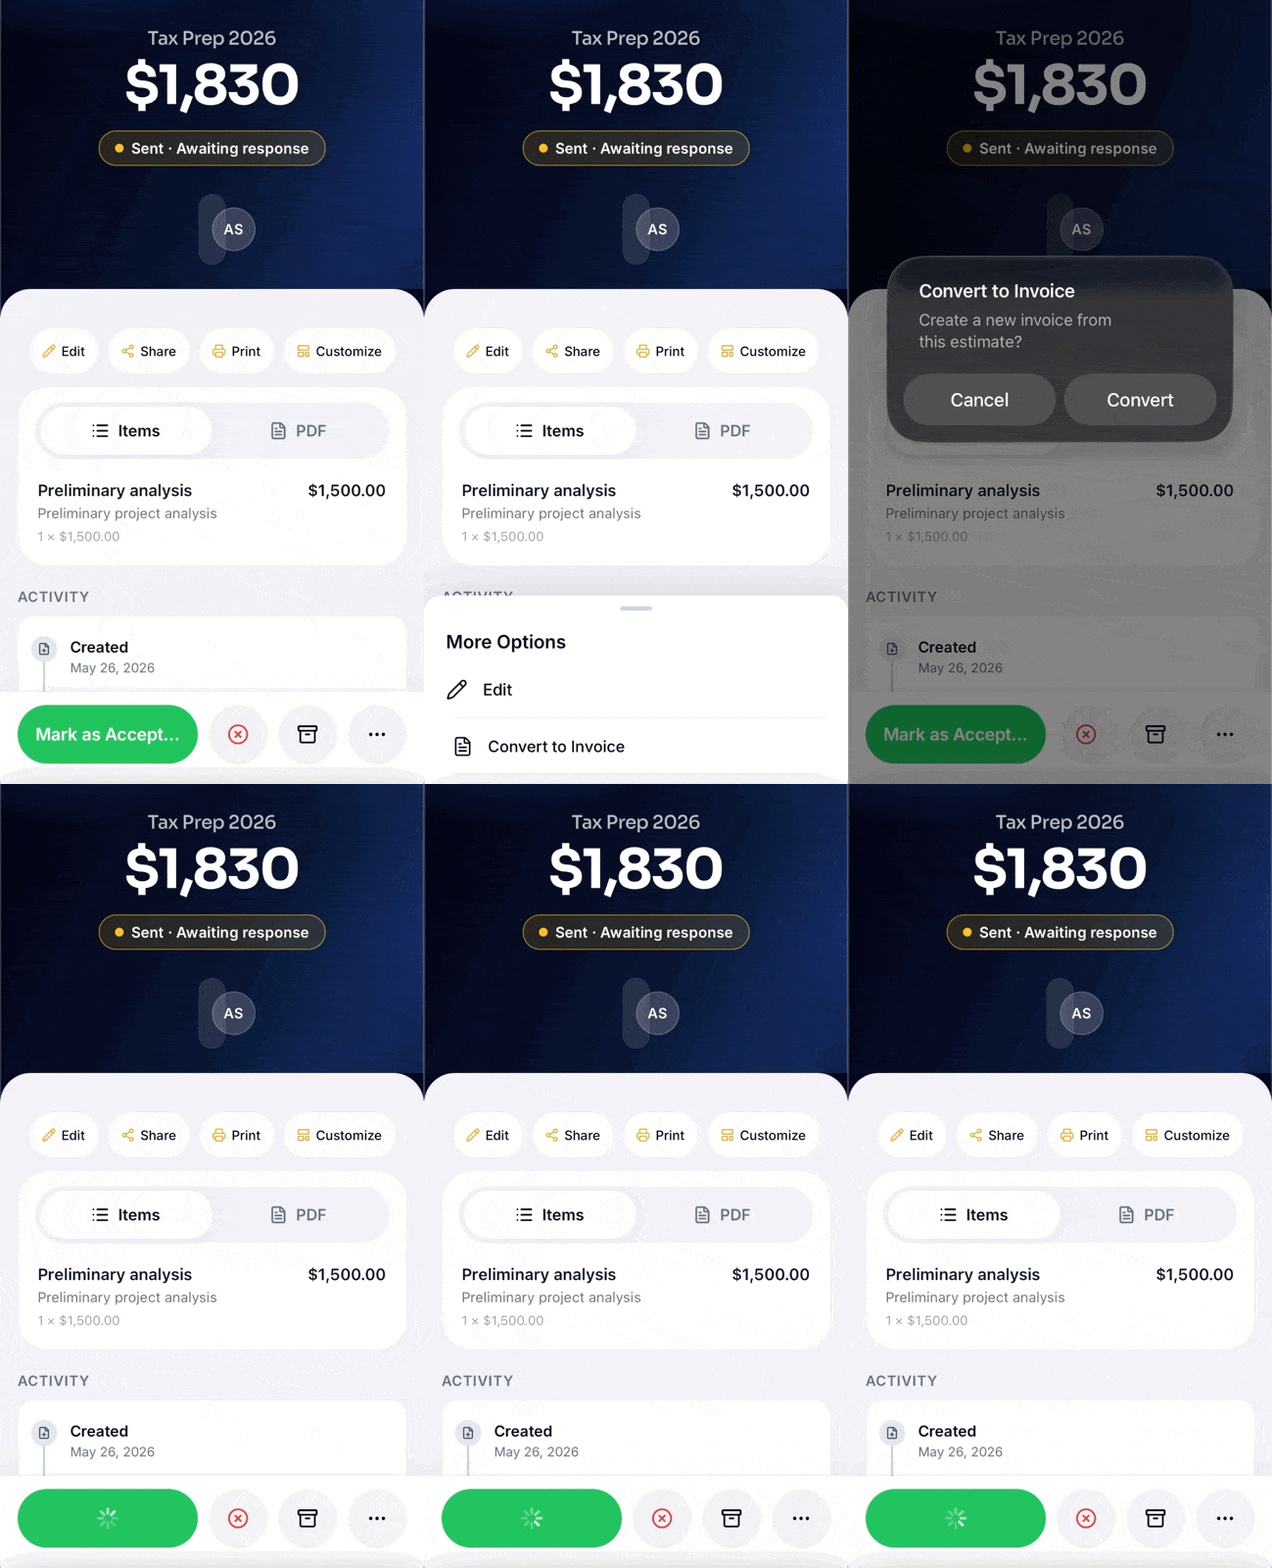
Estimates are how you quote a job before you're paid for it. This article covers building an estimate, with AI or manually, customizing how it looks, sending it to a client, and what happens at each stage from draft to accepted.
Tap + Create and choose Estimate. You'll choose between two ways to build it:
Describe the job by typing or talking, and add photos, the job address, and measurements if you have them. Choose a detail level before generating:
Normal: shorter, higher-level line item descriptions
Detailed: longer, more thorough descriptions per item (same number of items, just more detail in each one)
AI drafts the estimate based on what you describe, your industry, and location. Review it and edit anything before publishing it.
Build the estimate yourself, adding items one at a time.
Either way, you'll need to:
Pick a client. Every estimate needs a client from your CRM. If you're just getting started and have a list of existing clients, it's faster to import them in bulk than add them one at a time.
Add a subject or headline for the estimate.
Add items. Pull from your items library or add freeform line items (see Building your items library).
Set discount and tax, if needed. Toggle on a discount and choose whether it's a percentage or a flat amount, and add a tax rate if applicable. Your total updates automatically based on your line items.
Add attachments or notes, if you want to include anything extra for the client.
Before you publish your estimates, you can toggle on the following options:
Auto-generate invoice on acceptance so when the client accepts the estimate, WinPal automatically creates the matching invoice.
Require client signature and require that the client draws a signature before the estimate is marked accepted.
Terms and conditions to show to clients on the estimate page itself (not included in the PDF).
Request a deposit to ask for a deposit upfront as part of the estimate.
Toggle on discounts then add a percentage or a dollar amount as needed.
Tap tax to apply taxes, choose how much, and whether it applies to the total or only to taxable items.

When you're done building the estimate, choose:
Publish so the estimate is finalized and ready to send.
Save as draft to keep it editable. You can come back and finish it anytime; nothing is sent or finalized until you publish.
From here you can also print the estimate, or tap Customize to set how it looks: choose a PDF template and color, add your logo, and toggle on or off:
Show business address
Show tax breakdown
Show discount line
Show notes
Show paid stamp
See Customizing your PDF for more on these options.
Once published, tap Send to client. You can:
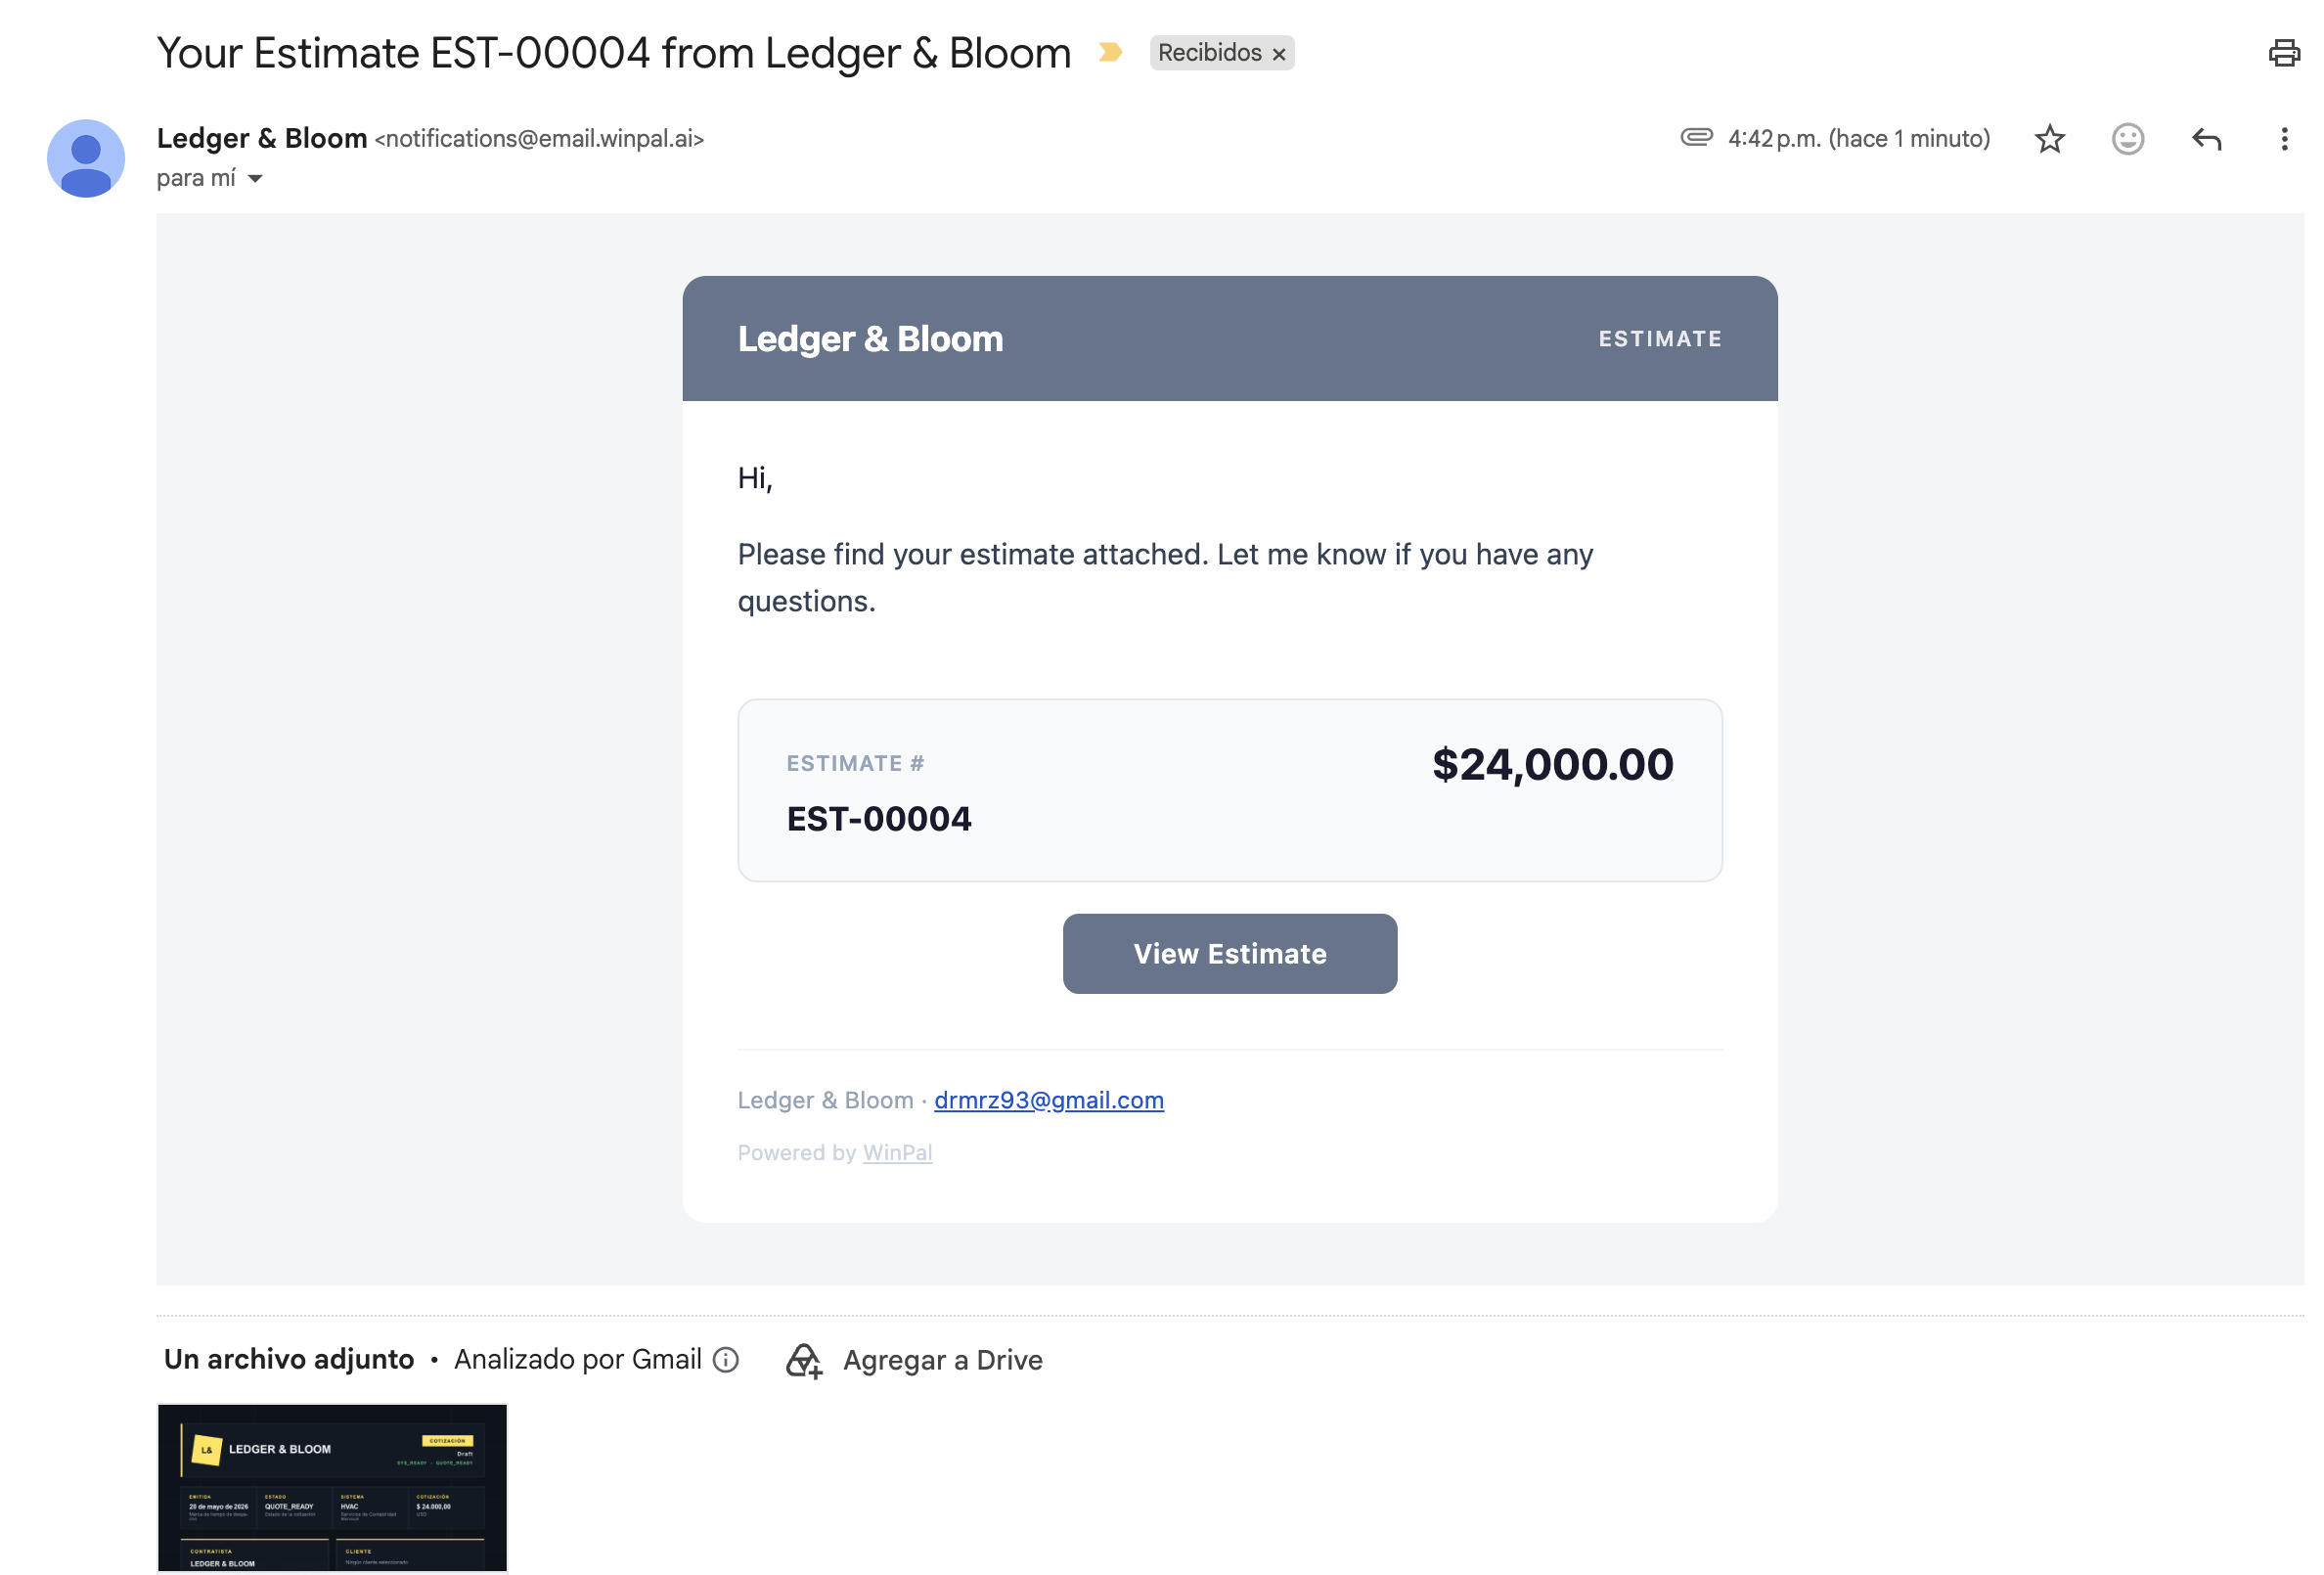
Send via WinPal and clients will get a branded email with a PDF attachment
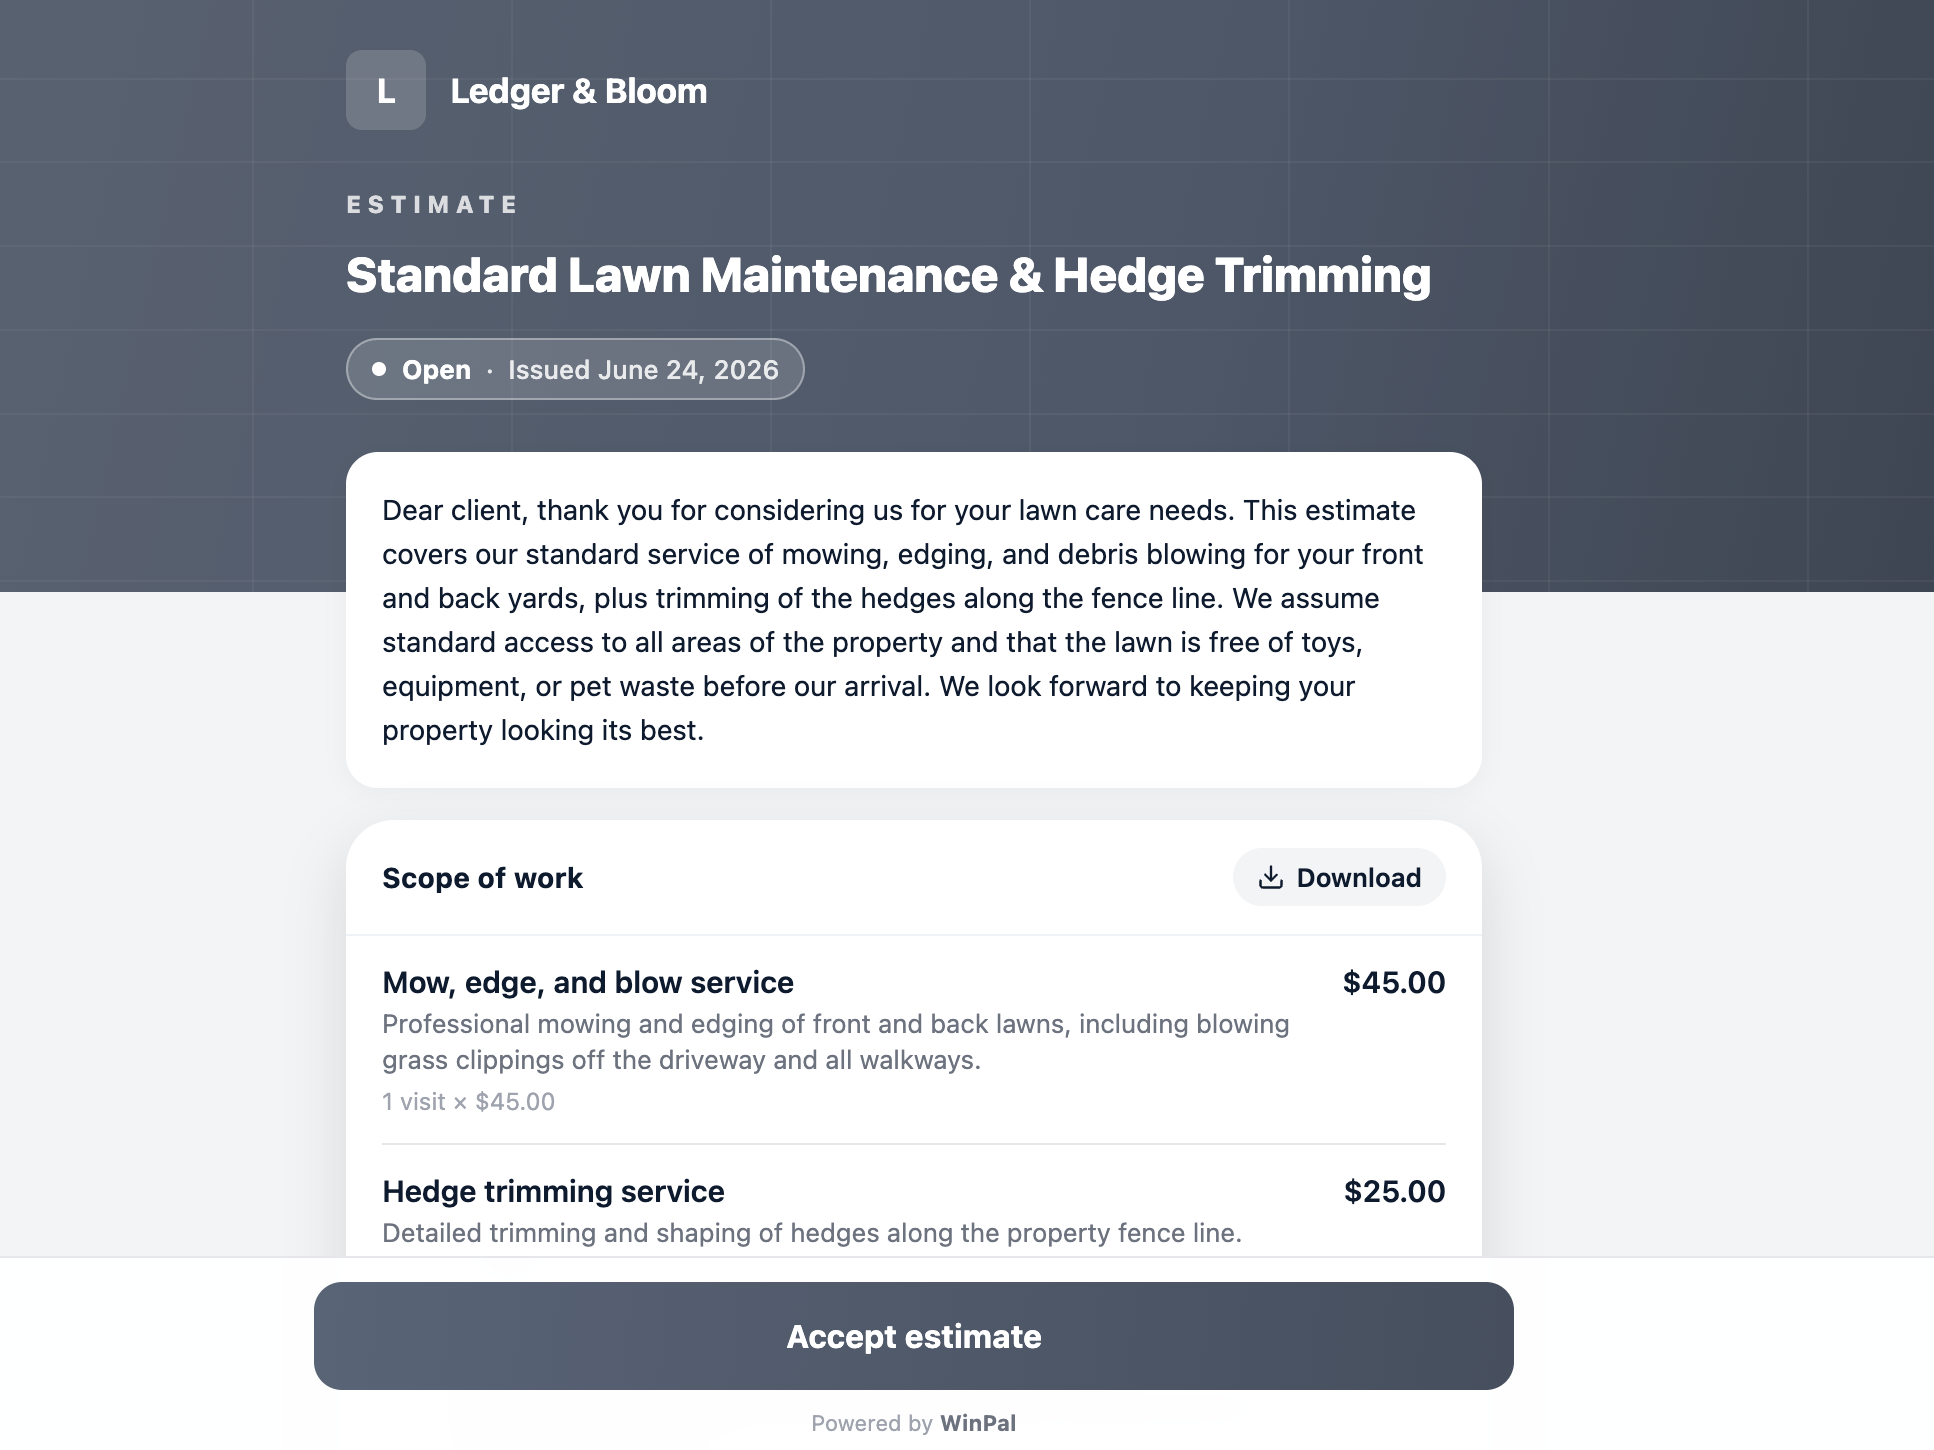
Share link to copy a link you can send yourself, by text, email, or however you reach the client.
Mark as sent if you've already delivered it another way (in person, a call) and just want WinPal's status to reflect that.
An estimate moves through statuses as it progresses:
What it means | |
Draft | Created but not open |
Open | Published and ready to send |
Sent | Delivered to the client, awaiting a response |
Accepted | Client approved the estimate (may trigger auto-invoice and require a signature, depending on your settings) |
Declined | Client did not approve the estimate |
Invoiced | An invoice has been generated from this estimate |
Archived | No longer active |
If you turned on auto-generate invoice on acceptance, accepting the estimate creates the invoice for you automatically. If you didn't turn that on, you can convert an accepted estimate to an invoice manually whenever you're ready to bill the client.
Click the three-dot menu and Convert to Invoice.