AI Renders turn your job-site photos into a realistic preview of the finished work, so you can show clients what the result will look like before you start. Snap a few "before" photos, tell the AI what you're planning (or add an inspiration photo), and WinPal generates an "after" image you can compare, save, and attach to an estimate.
1. Add site/before photos. Take or upload photos of the space as it looks today (up to 6). These are the starting point the AI works from.
2. Tell the AI what you want. Write instructions describing the work (for example, "Keep the layout but make the cabinets white oak"), add up to 4 inspiration photos, or both. You need at least one before photo plus at least one of these to generate.
3. Generate the render. Tap Generate render. Each run produces one option; you can add more takes afterward.

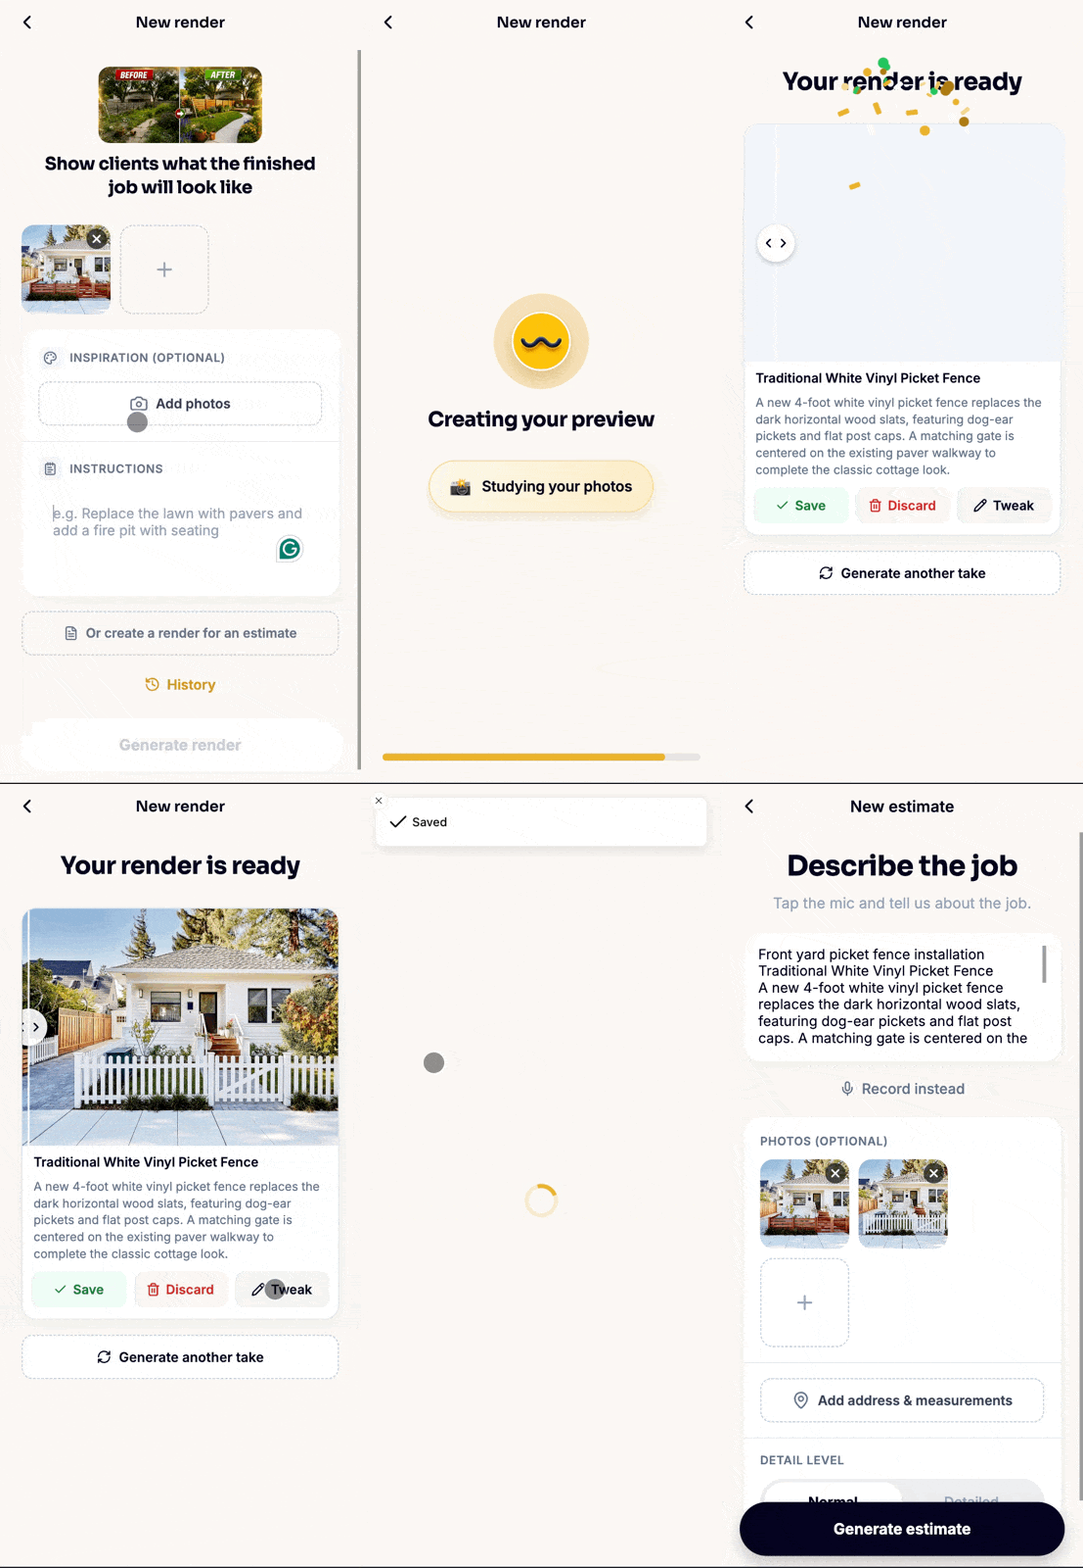
When a render is ready, drag the before/after slider to compare it with the original photo. Each option has a short caption and description, and three actions:
Save keeps the option in your gallery.
Discard removes an option you don't want.
Tweak refines that option: tell the AI what to change and your photos carry over automatically.
Use Generate another take to add more options to the same render, up to 4 in total. If the render is full, save or discard an existing take to make room.
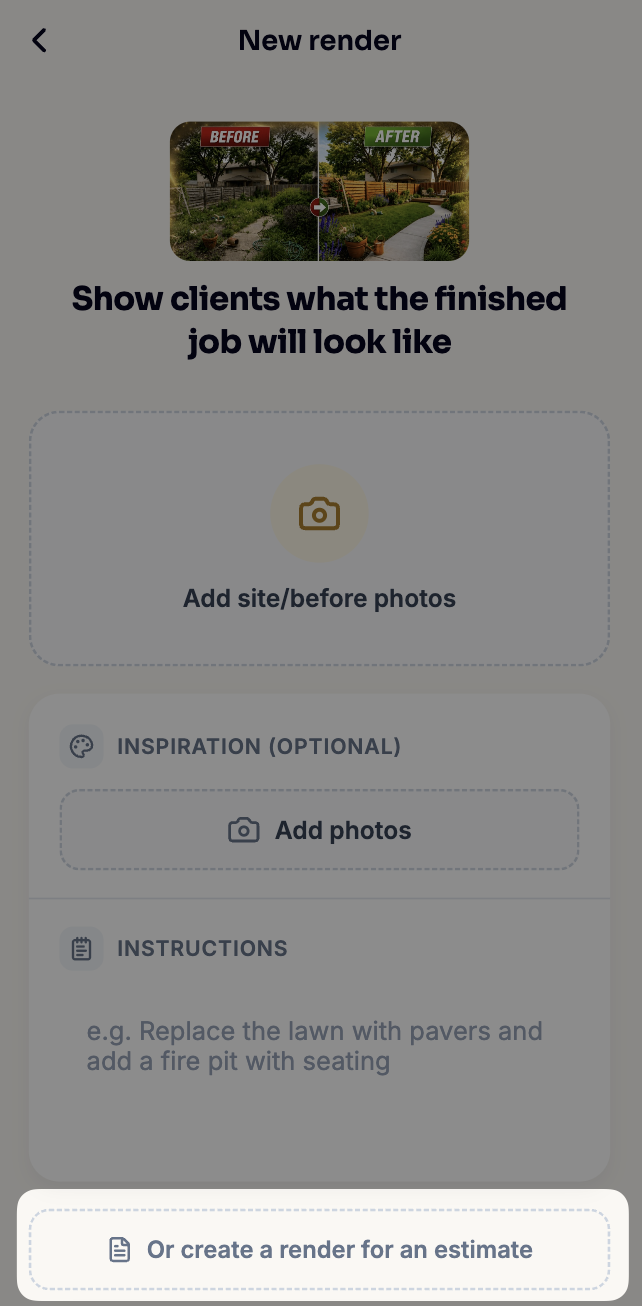
You can link a render to an estimate so the finished-job preview travels with it. On a render, tap “Create a render from an estimate” and pick the estimate you want. You can unlink it again at any time.
You can also go the other way: from a render, tap Generate estimate to start a new estimate that reuses the render's photos.
Everything you save appears in the Renders gallery under the More menu. A Recent strip at the top brings back sessions you stepped away from before saving, so any options still awaiting a decision stay easy to find.