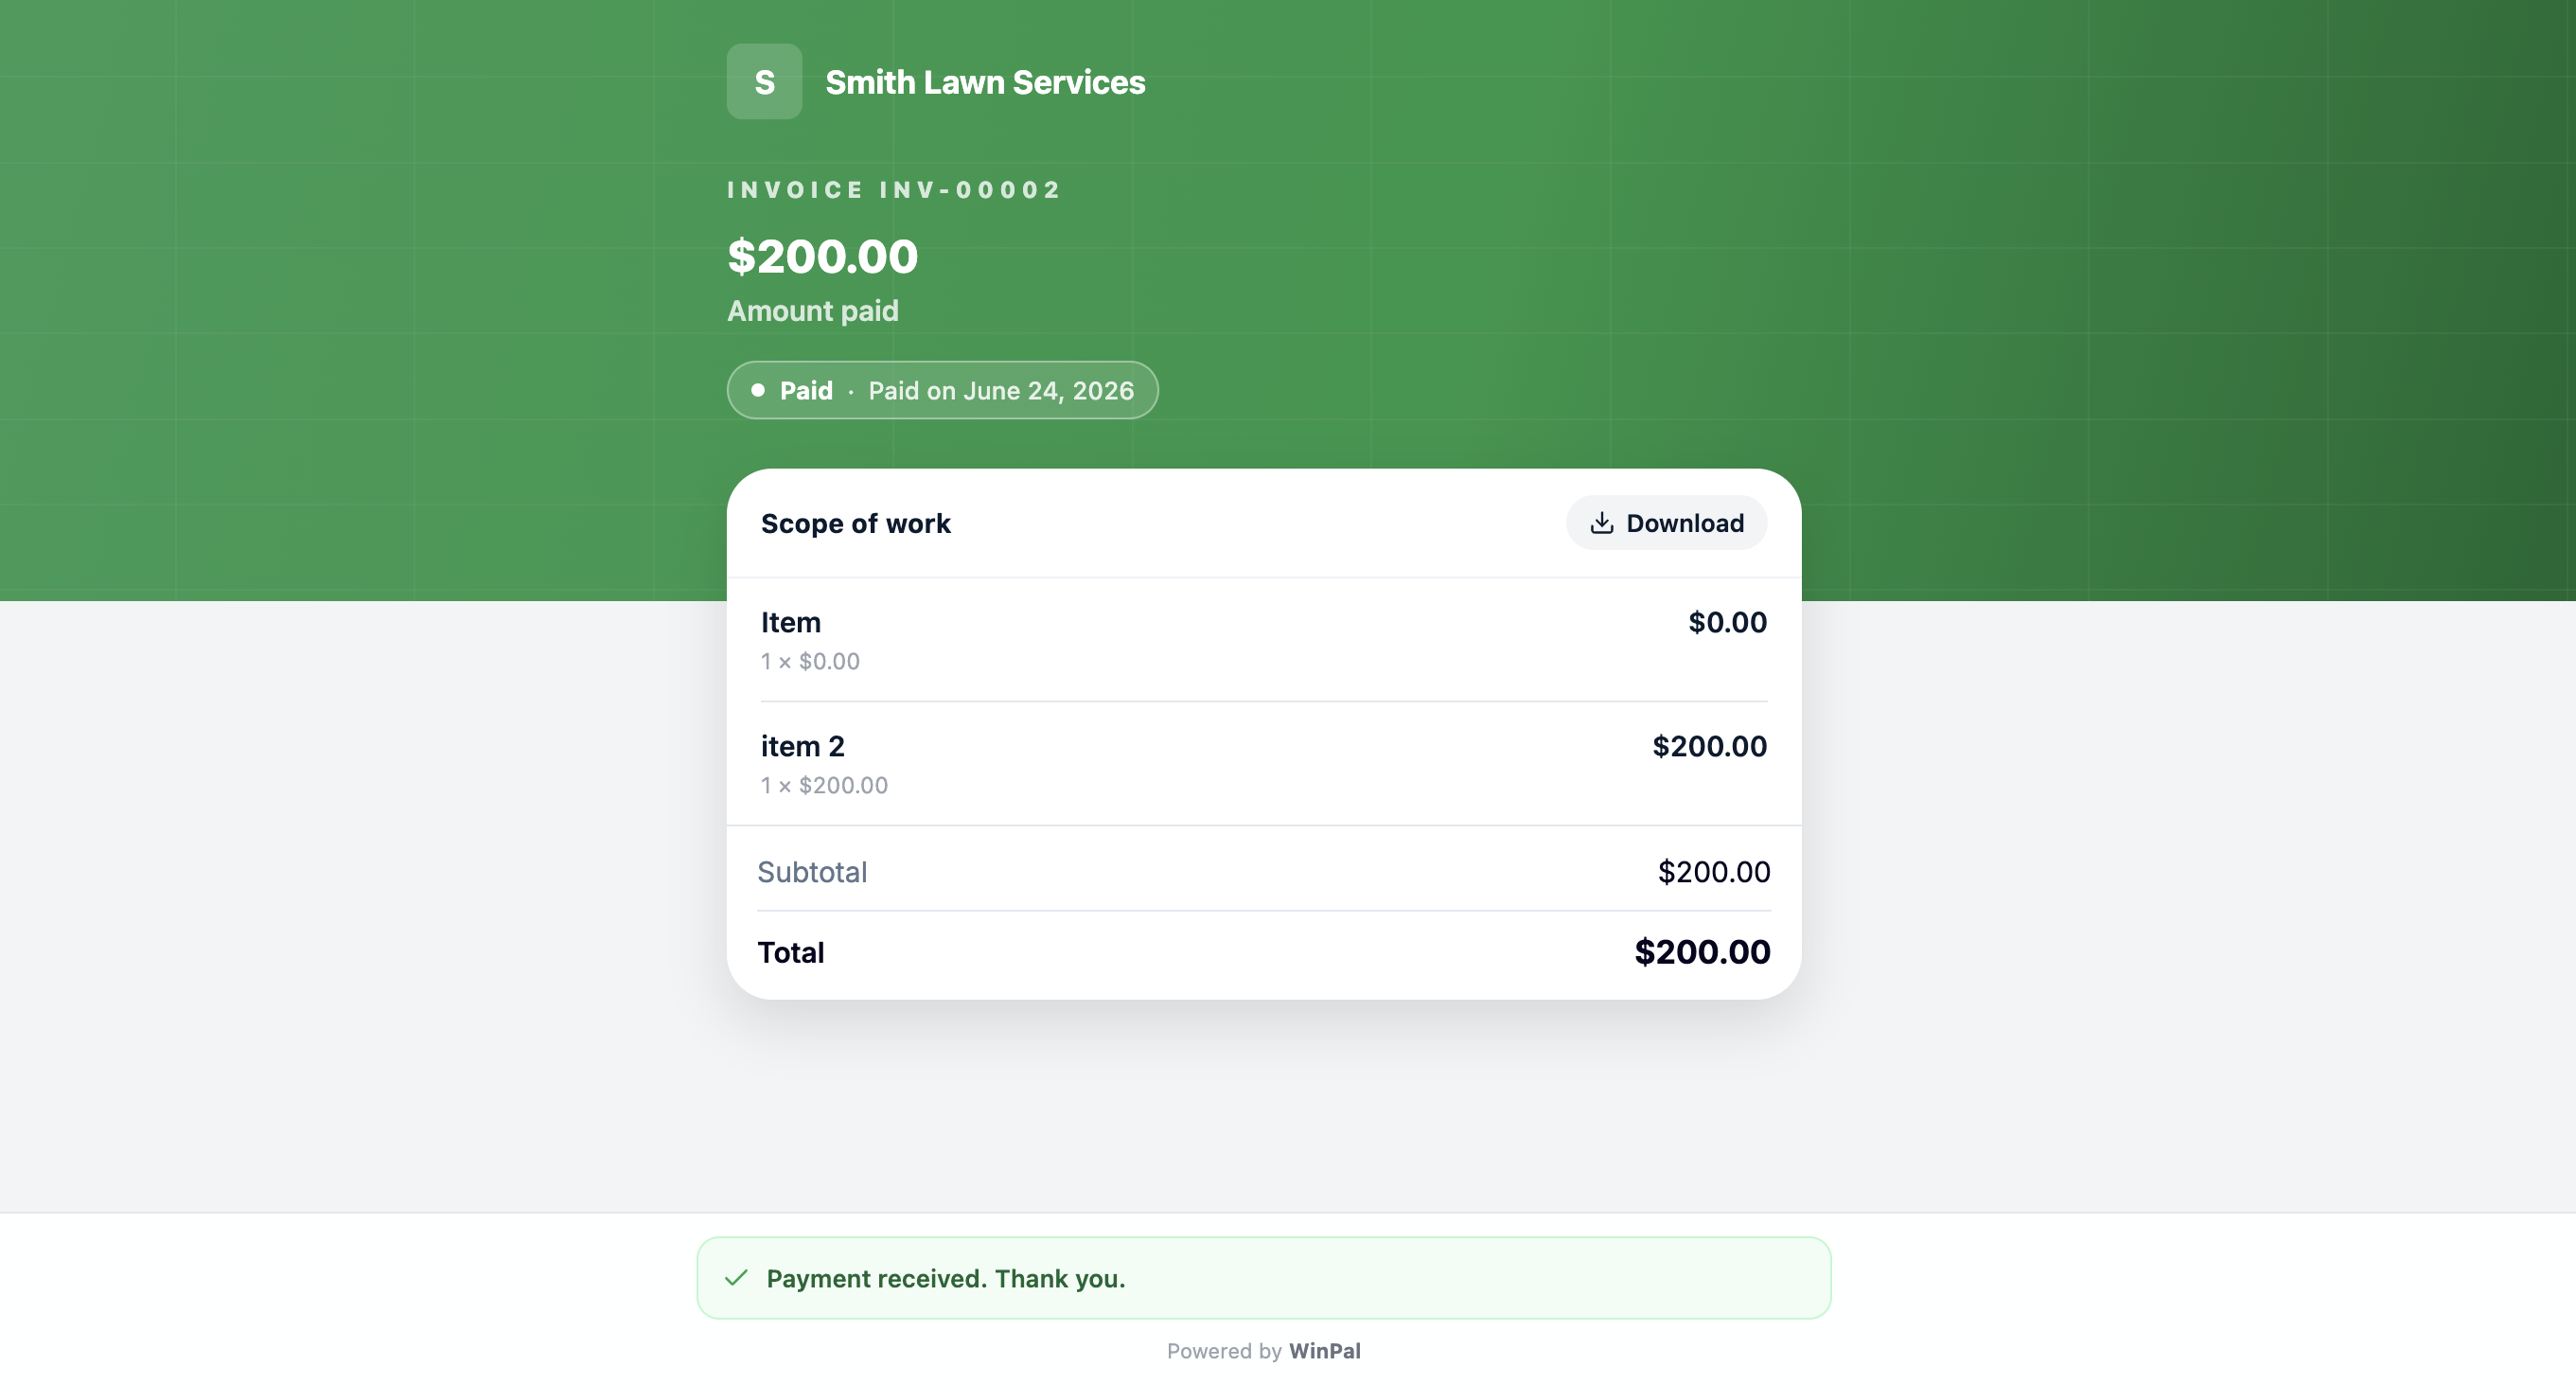
Your template, color, and logo apply to every estimate and invoice you send, both the PDF itself and the page your client sees when they open the link. This article covers how to set it up and what each option controls.
To get started, go to Settings > Customize Invoice/Estimate PDF. You can also get here from any existing estimate or invoice: open the ⋮ menu and choose Customize Invoice/Estimate PDF.
Whatever you choose applies account-wide, to every document you create from then on.
Choose from 11 templates. These are purely a style preference, there's no "right" template for a given trade, so pick whichever looks most like your brand. Switching templates also changes how some of the other settings below are displayed, so it's worth picking your template first, then adjusting color and options.
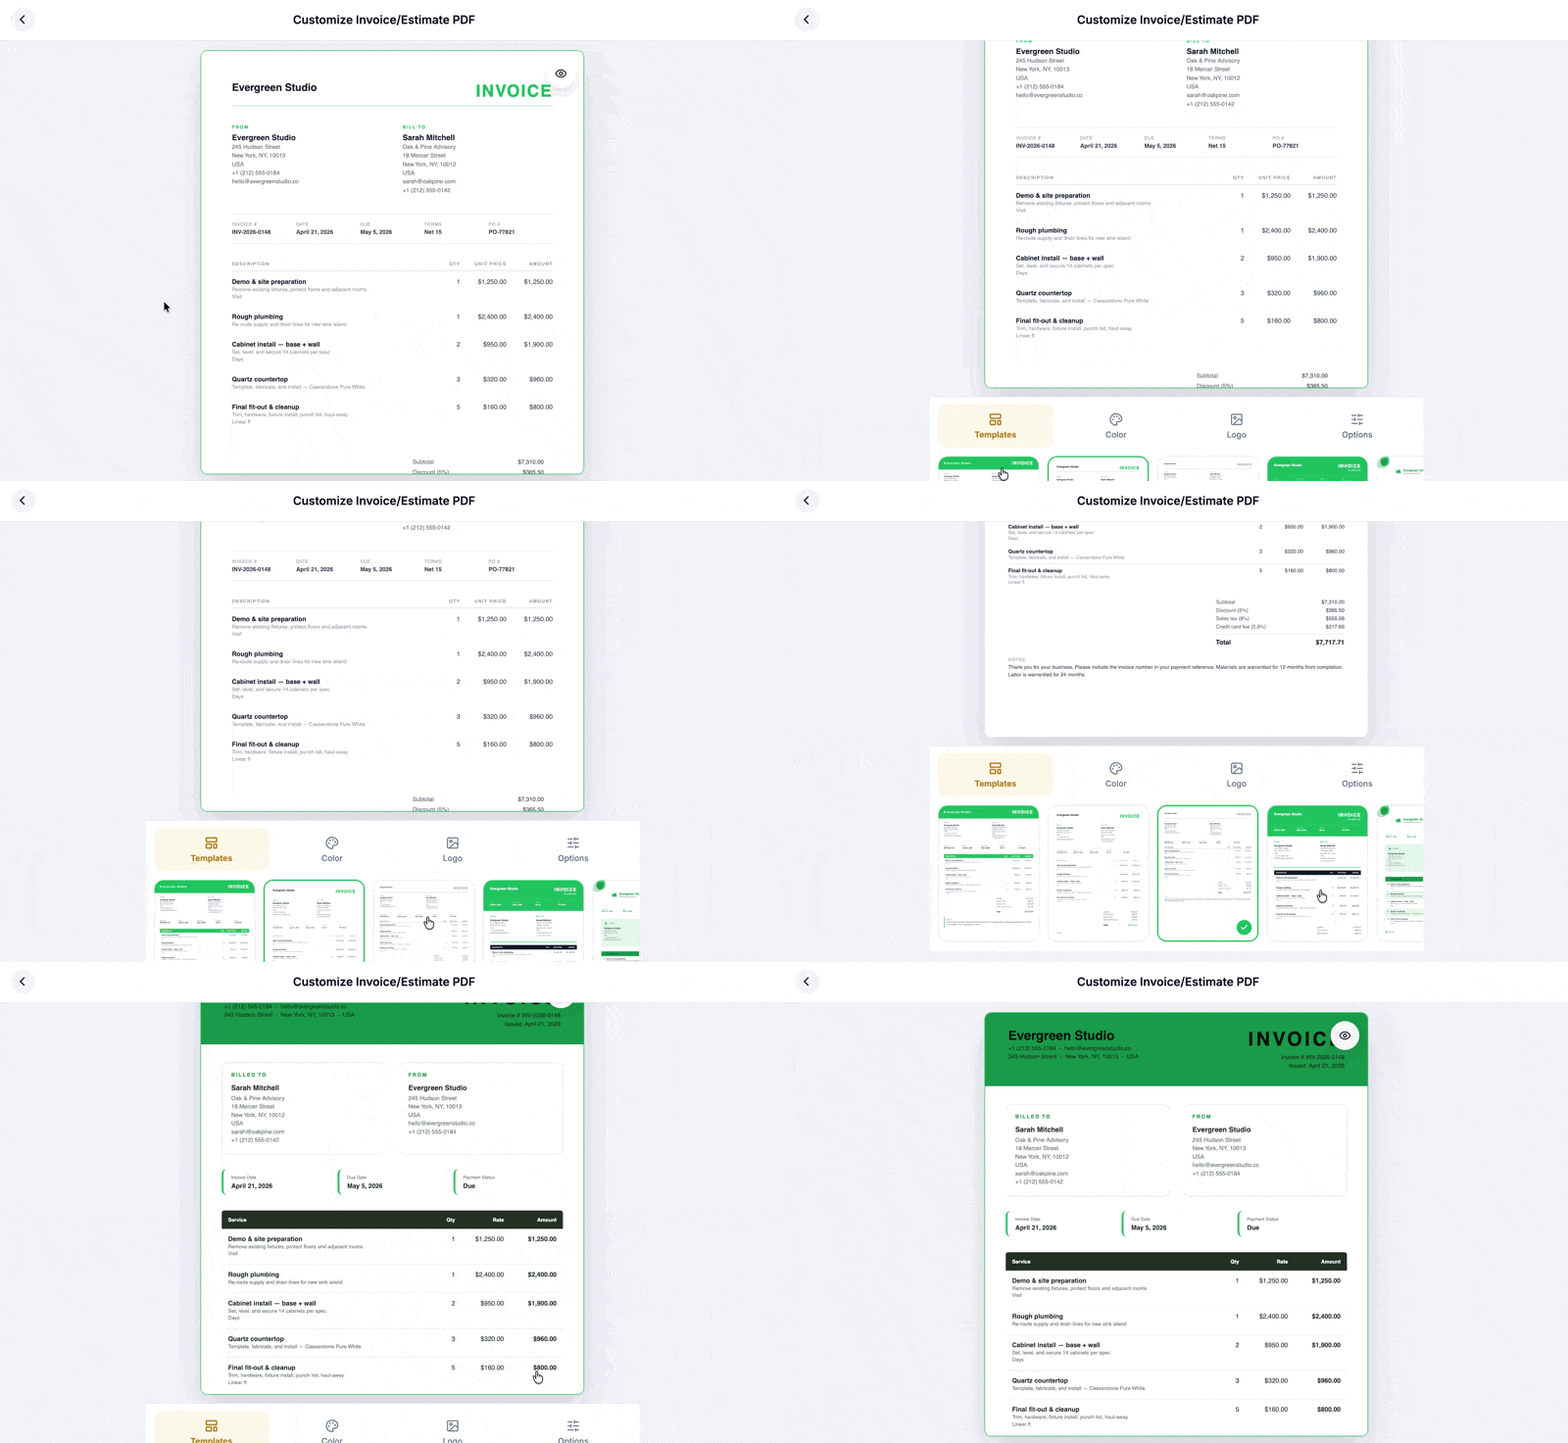
This sets the color theme your client sees in two places:
The page they land on when they open your invoice or estimate link (the background, accents, and the "Pay" button color).
The PDF, where the color shows up differently depending on which template you've chosen— some templates use it more heavily than others.
Pick a color, then go back to Templates to see it applied.
Choose whether your logo appears on the client-facing page. You can turn it off if you'd rather keep the page text-only.
Toggle which details appear on your documents:
Show business address
Show tax breakdown
Show discount line
Show notes
Show paid stamp
Turning any of these off simply removes that line or section from the document, for example, turning off "Show tax breakdown" still applies tax to the total, it just won't show the line itemizing how much of the total is tax.
Since these settings apply to everything you send, it's worth setting them once early on rather than tweaking them per document, see Start Here: Set Up Your Account if you haven't been through initial setup yet.